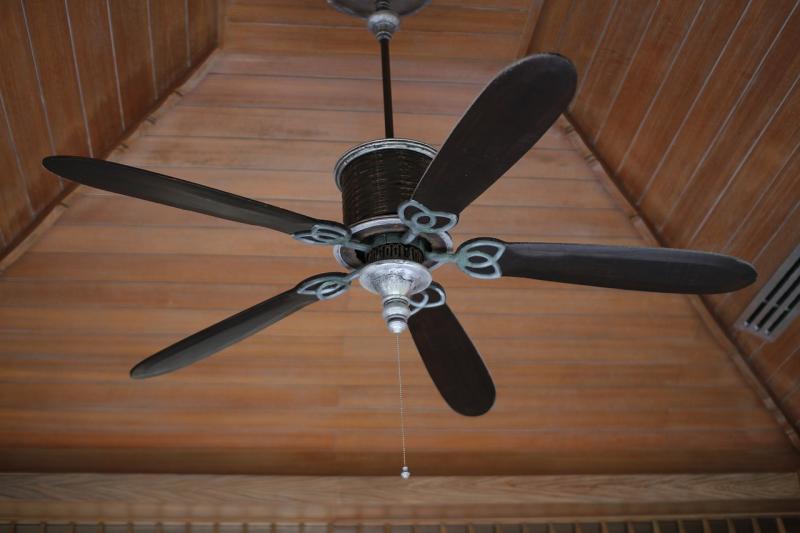
Choosing the right size outdoor ceiling fan is crucial to ensure maximum comfort and efficiency. The best outdoor ceiling fan for you will depend on the size of the area you want to cool. Here are some guidelines to help you determine the perfect size for your space:
Small Rooms: For spaces up to 100 square feet, a fan with a blade span of 42 inches or less is ideal. This size is perfect for small patios, porches, or compact outdoor areas.
Medium Rooms: Rooms that are between 100 and 300 square feet will benefit from a fan with a blade span of 44 to 52 inches. This size works well for medium-sized outdoor spaces such as decks, gazebos, or covered dining areas.
Large Rooms: If you have a large outdoor area measuring over 300 square feet, opt for a fan with a blade span of 52 inches or more. This size will ensure optimal air circulation and cooling for your space, making it the best outdoor ceiling fan for larger patios, verandas, or outdoor living rooms.
Energy Efficiency
One of the key factors to look for in an energy-efficient outdoor ceiling fan is the fan's motor. DC motors are known for their energy efficiency, using up to 70% less energy than traditional AC motors. This means that you can keep your outdoor space cool without worrying about high energy bills. Look for outdoor ceiling fans that are ENERGY STAR certified for even greater energy savings.
In addition to an energy-efficient motor, consider the fan's design and features. Opt for a model with LED lights, which consume less energy than traditional incandescent bulbs. Some outdoor ceiling fans also come with built-in thermostats and timers, allowing you to customize your cooling settings for maximum efficiency. By choosing the best outdoor ceiling fan with energy efficiency in mind, you can stay cool and comfortable while reducing your environmental footprint.
Installation Tips
So, you've decided to get the best outdoor ceiling fan for your space. Congratulations! Now it's time to install it properly to ensure optimal performance and longevity. Here are some tips to help you with the installation process:
1. Check the location: Before you start installing your outdoor ceiling fan, make sure that the location you have chosen is suitable for a ceiling fan. Ensure that there is enough clearance between the fan blades and the walls or any obstacles. The fan should also be at least 7 feet above the floor for safety reasons.
2. Turn off the power: This may seem obvious, but always remember to turn off the power to the room where you will be installing the fan. This will prevent any electrical accidents while you are working on the installation.
3. Read the instructions: Before you start assembling the fan, take some time to read through the installation instructions carefully. Each fan can be slightly different, so it's important to follow the specific directions provided by the manufacturer.
4. Secure the fan properly: Once you have assembled the fan and attached it to the ceiling mount, make sure it is securely in place. Use the provided screws and hardware to fasten the fan to the ceiling properly to prevent any wobbling or shaking while in use.
5. Test the fan: Once everything is installed, turn the power back on and test the fan to ensure that it is working correctly. Check the speed settings, direction of rotation, and make sure that the fan is operating smoothly before enjoying the cool breeze it provides.
Maintenance Checklist
Maintaining your outdoor ceiling fan is crucial to ensure optimal performance and longevity. Here is a simple maintenance checklist to keep your best outdoor ceiling fan in top condition:
1. Regular Cleaning: Dust and debris can accumulate on the blades of your outdoor ceiling fan, affecting its efficiency. Make sure to clean the blades regularly by simply wiping them down with a damp cloth.
2. Check for Loose Screws: Over time, the screws and bolts that hold your outdoor ceiling fan in place can become loose. Be sure to check these regularly and tighten any that may have come loose.
3. Lubricate Moving Parts: To keep your outdoor ceiling fan running smoothly, it's important to lubricate the moving parts. Apply a small amount of lubricant to the motor and bearings to prevent friction and wear.
4. Inspect Wiring: Check the wiring of your outdoor ceiling fan for any signs of wear or damage. If you notice any frayed wires or exposed connections, it's important to call a professional to address the issue.
5. Test the Speed and Rotation: Finally, test the speed and rotation of your outdoor ceiling fan to ensure it is working properly. Make any necessary adjustments to the settings to ensure optimal performance.
By following this maintenance checklist, you can keep your best outdoor ceiling fan in top condition for years to come.


